Enable trading UI
Overview
This is the first part of a two-part tutorial on integrating trading into your platform using the Broker API. In this part, you'll focus on enabling the trading UI: implementing the Order Ticket, Account Manager, and Buy/Sell buttons.
Trading in the Trading Platform relies on two key components: the Broker API and the Trading Host. The Broker API acts as a bridge between the library and the backend trading server, receiving and transmitting data between them. The Trading Host provides the library with updates that the library didn't request, but which are necessary to display up-to-date information.
Your job is to implement:
- The Broker API methods, which connect the frontend to your backend logic.
- The Trading Host notifications, which keep the library in sync with backend changes.
You can learn more about how these components work together in Core trading concepts.
1. Set up broker in Widget Constructor
To enable trading, pass a function to the broker_factory property of the Widget Constructor.
This function must return a new instance of your Broker API implementation and accept the Trading Host as a parameter.
function initOnReady() {
    var myDatafeed = new UDFCompatibleDatafeed('https://demo-feed-data.tradingview.com');

    (window as any).tvWidget = new widget({
        symbol: 'AAPL',
        interval: '1D' as ResolutionString,
        container: 'tv_chart_container',
        // BEWARE: no trailing slash is expected in feed URL
        datafeed: myDatafeed,
        library_path: 'trading_platform/charting_library/',
        locale: 'en',

        broker_factory: function(host: IBrokerConnectionAdapterHost) {
            return new BrokerMinimal(host, myDatafeed);
        },
    });
}
2. Define broker connection status
The library uses the connectionStatus method to determine if the broker is active.
connectionStatus(): ConnectionStatus {
    return ConnectionStatus.Connected;
}
Return ConnectionStatus.Connected to let users start trading.
Without it, the Account Manager will keep spinning indefinitely.
Want to support other broker statuses?
Manage disconnected or error states on your backend and provide connection updates using connectionStatusUpdate.
3. Provide user account metadata
Implement accountsMetainfo to return an array of account objects.
You can start with a single hardcoded test account.
async accountsMetainfo(): Promise<AccountMetainfo[]> {
    return [
        {
            id: '1' as AccountId,
            name: 'Test account',
        },
    ];
}
Want to support multiple accounts?
Check out our Multiple Accounts guide for implementation tips.
4. Set current account
Specify which account should be used in the current session using currentAccount.
currentAccount(): AccountId {
    return '1' as AccountId;
}
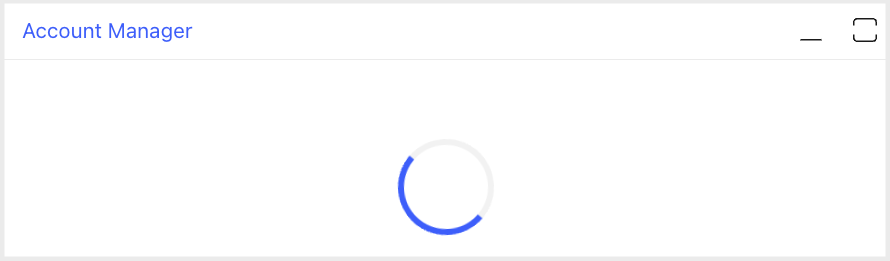
5. Display Account Manager details
The Account Manager (AM) is an interactive widget that displays trading information, such as orders and positions.
To populate the AM, implement accountManagerInfo.
Otherwise, the AM will be empty and only the Trade button will appear.

Each AM page is a table where you define columns and the data to be displayed. The columns and values shown below are just examples. You can fully customize the AM structure and data fields to match your product's needs. Refer to Account Manager for more information.
accountManagerInfo(): AccountManagerInfo {
    return {
        accountTitle: 'Trading Sample',
        summary: [],
        orderColumns: [
            {
                label: 'Symbol',
                formatter: StandardFormatterName.Symbol,
                id: CommonAccountManagerColumnId.Symbol,
                dataFields: ['symbol', 'symbol', 'message'],
            },
            {
                label: 'Side',
                id: 'side',
                dataFields: ['side'],
                formatter: StandardFormatterName.Side,
            },
            {
                label: 'Type',
                id: 'type',
                dataFields: ['type', 'parentId', 'stopType'],
                formatter: StandardFormatterName.Type,
            },
            {
                label: 'Qty',
                alignment: 'right',
                id: 'qty',
                dataFields: ['qty'],
                formatter: StandardFormatterName.FormatQuantity,
            },
            {
                label: 'Status',
                id: 'status',
                dataFields: ['status'],
                formatter: StandardFormatterName.Status,
            },
            {
                label: 'Order ID',
                id: 'id',
                dataFields: ['id'],
            },
        ],
        positionColumns: [
            {
                label: 'Symbol',
                formatter: StandardFormatterName.Symbol,
                id: CommonAccountManagerColumnId.Symbol,
                dataFields: ['symbol', 'symbol', 'message'],
            },
            {
                label: 'Side',
                id: 'side',
                dataFields: ['side'],
                formatter: StandardFormatterName.Side,
            },
            {
                label: 'Qty',
                alignment: 'right',
                id: 'qty',
                dataFields: ['qty'],
                formatter: StandardFormatterName.FormatQuantity,
            },
        ],
        pages: [],
    };
}
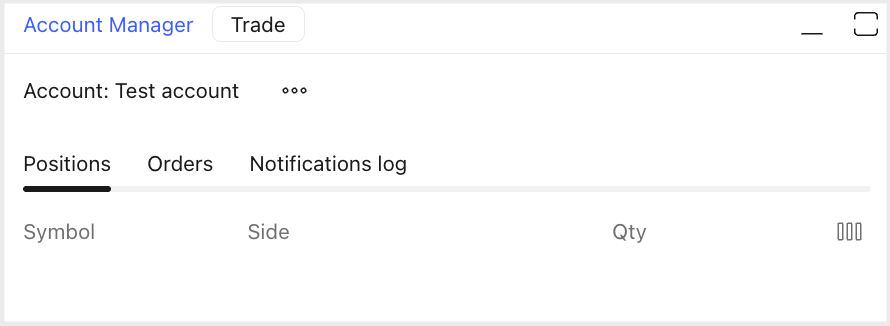
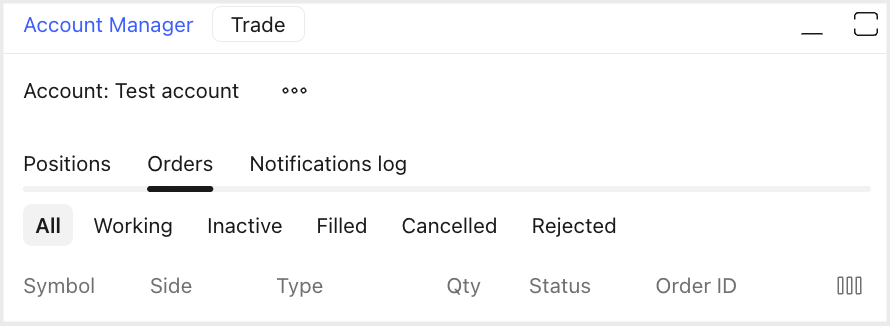
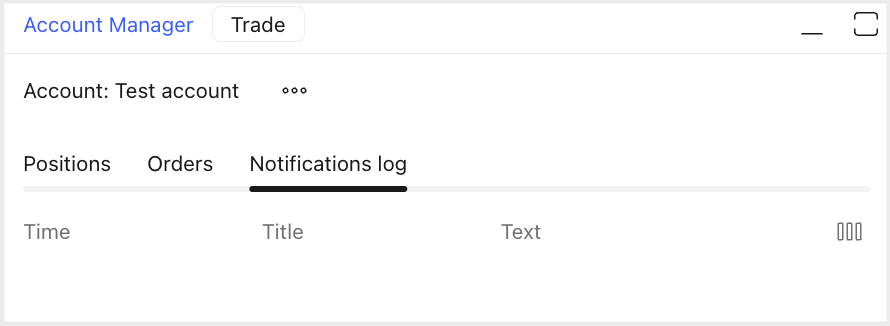
The method above implements the Positions and Orders pages. The Notifications log page appears by default.
- Positions page
- Orders page
- Notifications log page
6. Add actions to chart context menu actions
The library allows users to interact with the chart via a context menu — including placing trades directly from it.
To support this, implement the chartContextMenuActions method.
This method renders the Trade button in the context menu and populates available actions by calling the defaultContextMenuActions method of the Trading Host.
chartContextMenuActions(
        context: TradeContext,
        options?: DefaultContextMenuActionsParams | undefined
    ): Promise<ActionMetaInfo[]> {
        return this._host.defaultContextMenuActions(context);
}
7. Enable trading buttons
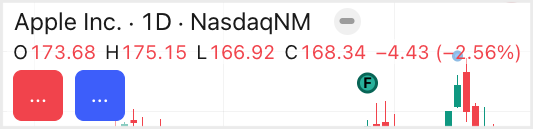
Let the library know that symbols are tradable using the isTradable method.
Returning true enables the Buy/Sell buttons on the chart.
Without this method, trading buttons appear disabled and the Order Ticket displays a message saying the symbol is not tradable.
async isTradable(symbol: string): Promise<boolean | IsTradableResult> {
    return Promise.resolve(true);
}
Note that the buttons still won't show bid/ask prices and the Order Ticket won't open until symbolInfo is implemented.
8. Return symbol information
Implement the symbolInfo method to provide detailed instrument data needed for the Buy/Sell buttons and Order Ticket.
This symbol information is different from the LibrarySymbolInfo used in the Datafeed API.
The example below returns mock symbol information for demonstration only. You should replace it with real instrument details from your backend.
async symbolInfo(symbol: string): Promise<InstrumentInfo> {
    const mintick = await this._host.getSymbolMinTick(symbol);
    const pipSize = mintick; // Pip size can differ from minTick
    const accountCurrencyRate = 1; // Account currency rate
    const pointValue = 1; // USD value of 1 point of price

    return {
        qty: {
            min: 1,
            max: 1e12,
            step: 1,
        },
        pipValue: pipSize * pointValue * accountCurrencyRate || 1,
        pipSize: pipSize,
        minTick: mintick,
        description: '',
    };
}
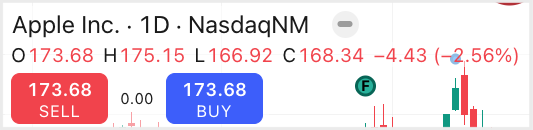
Once this method is implemented, the Buy/Sell buttons show bid/ask prices.
Also, the Order Ticket becomes active — but clicking the Buy/Sell buttons still won’t do anything. The library will display a toast message stating that the order is rejected.
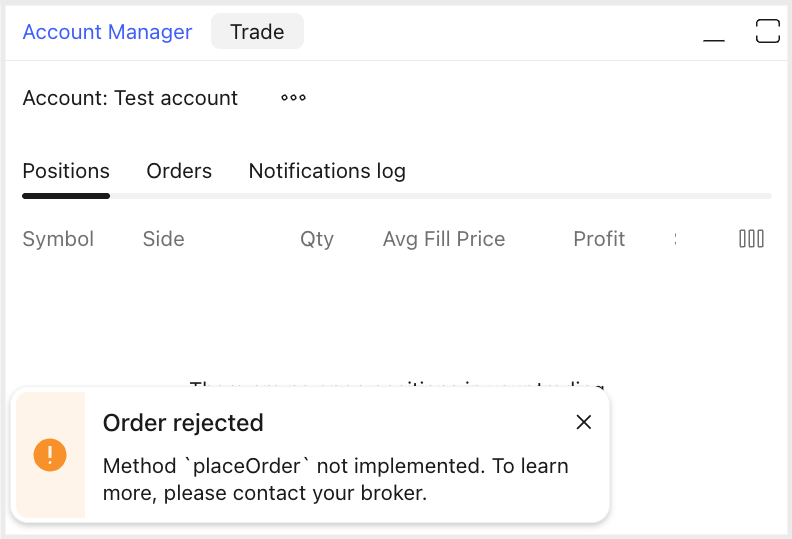
To support placing orders, you’ll also need to implement placeOrder and work on order management logic.