Snapshots
Overview
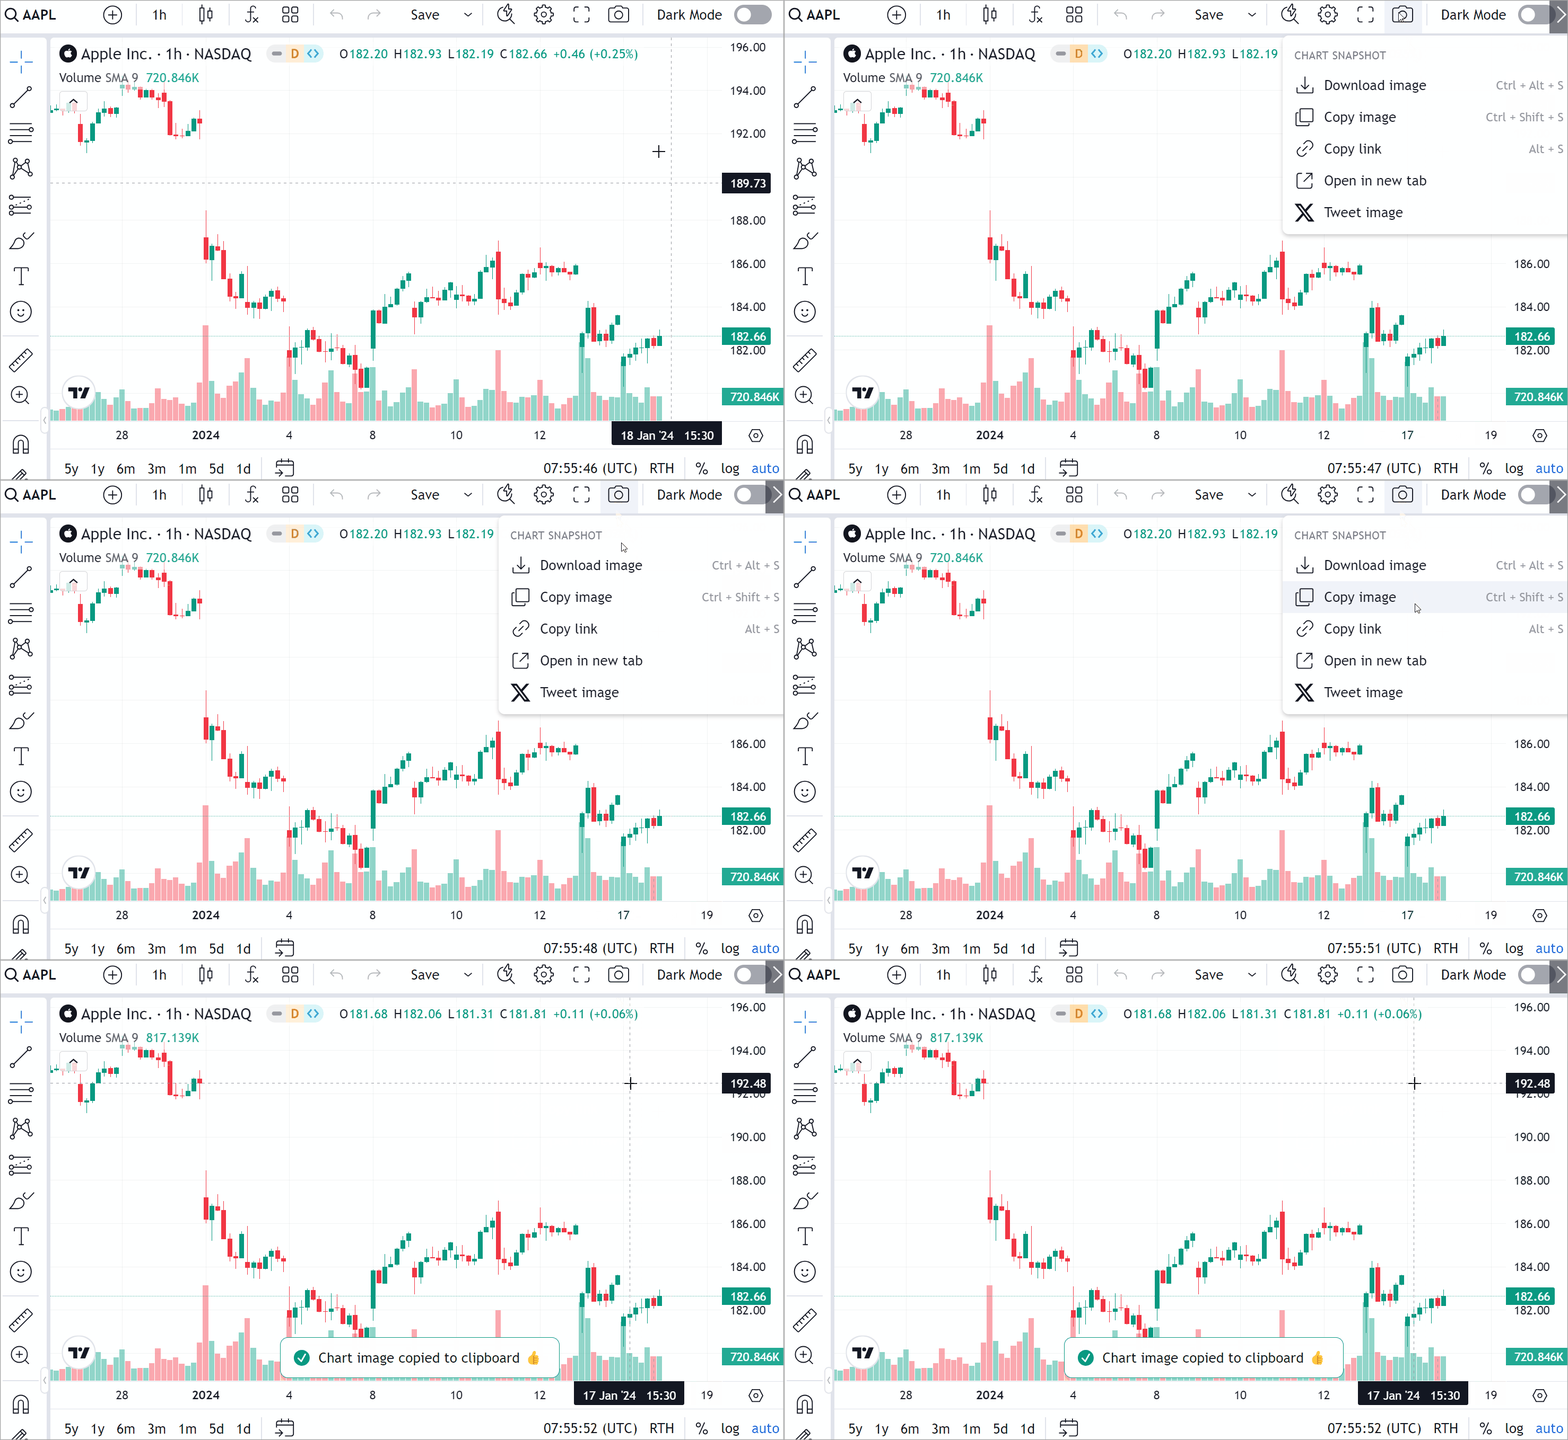
The library allows users to take chart snapshots via buttons located on the top toolbar. By default, the menu contains two options: Download image and Copy image. You can extend this menu to also include the Copy link, Open in new tab, and Tweet image options.

Snapshot storage
Snapshots taken through Copy link, Open in new tab, and Tweet image options are stored on your servers. The server URL used on the TradingView demo website only works on TradingView domains. For details on how to set up your own server, see our guide to implementing a snapshot server.
Enable additional menu options
You can extend the default snapshots menu with the Copy link, Open in new tab, and Tweet image options. To enable them, follow the steps below.
-
Implement your own server for storing snapshots. For more information, refer to the Implement snapshots server guide.
- Your server should have an endpoint that accepts
POSTrequests and returns saved image URLs to the library. - The data storage period is not limited in time. You have to implement a policy on your end.
- Your server should have an endpoint that accepts
-
Specify the
snapshot_urlproperty in your Widget Constructor.const datafeed = new Datafeeds.UDFCompatibleDatafeed("https://demo-feed-data.tradingview.com");
new TradingView.widget({
container: "chartContainer",
locale: "en",
library_path: "charting_library/",
datafeed: datafeed,
symbol: "AAPL",
interval: "1D",
snapshot_url: "https://myserver.com/snapshot",
})
Note that you cannot add custom options to this menu. Only the five predefined ones are available. However, you can remove any of these options if you don’t need them.
Remove button options
Depending on what you are interested in showing to your end users, you may want to hide some options.
To do this, use custom CSS defined within the custom_css_url property of the Widget Constructor.
The example below shows how to remove the Tweet image option from the menu.
// Custom CSS properties
var customCSS = `div[data-name="open-image-in-new-tab"],div[data-name="tweet-chart-image"],div[data-name="copy-link-to-the-chart-image"] { display: none; } `;

function initOnReady() {
    const cssBlob = new Blob([customCSS], {
    type: "text/css",
  });
  const cssBlobUrl = URL.createObjectURL(cssBlob);

  const datafeed = new Datafeeds.UDFCompatibleDatafeed("https://demo-feed-data.tradingview.com");
  new TradingView.widget({
    container: "chartContainer",
    locale: "en",
    library_path: "charting_library/",
    datafeed: datafeed,
    symbol: "AAPL",
    interval: "1D",
    snapshot_url: "https://myserver.com/snapshot",

    custom_css_url: cssBlobUrl,
  })
}
Hide button
Disable the header_screenshot featureset to hide the snapshot button.
const datafeed = new Datafeeds.UDFCompatibleDatafeed("https://demo-feed-data.tradingview.com");
new TradingView.widget({
    container: "chartContainer",
    locale: "en",
    library_path: "charting_library/",
    datafeed: datafeed,
    symbol: "AAPL",
    interval: "1D",
    snapshot_url: "https://myserver.com/snapshot",
    disabled_features: ["header_screenshot"],
})
Display trading lines
If you want snapshots to include orders, positions, and executions, enable the snapshot_trading_drawings featureset.
const datafeed = new Datafeeds.UDFCompatibleDatafeed("https://demo-feed-data.tradingview.com");
new TradingView.widget({
    container: "chartContainer",
    locale: "en",
    library_path: "charting_library/",
    datafeed: datafeed,
    symbol: "AAPL",
    interval: "1D",
    snapshot_url: "https://myserver.com/snapshot",
    enabled_features: ["snapshot_trading_drawings"],
})
Implement your logic
If you want to implement your logic for taking snapshots, use the takeClientScreenshot method.
This method creates a snapshot of the chart and returns it as a canvas.
You can then take the canvas element and create an image from it.
The code sample below saves a snapshot as a PNG.
async function saveChartToPNG() {
  const screenshotCanvas = await widget.takeClientScreenshot();
  const linkElement = document.createElement('a');
  linkElement.download = 'screenshot';
  linkElement.href = screenshotCanvas.toDataURL(); // Alternatively, use `toBlob` which is a better API
  linkElement.dataset.downloadurl = ['image/png', linkElement.download, linkElement.href].join(':');
  document.body.appendChild(linkElement);
  linkElement.click();
  document.body.removeChild(linkElement);
}
saveChartToPNG(); // Call the screenshot function
Additionally, you can configure snapshot parameters listed in ClientSnapshotOptions. To do this, specify the desired parameters and pass them to takeClientScreenshot.
For example, you can hide indicators from the legend with hideStudiesFromLegend:
const screenshotCanvas = await widget.takeClientScreenshot({ hideStudiesFromLegend: true });